Fundamentals for the Landscape Photographer
There are as many ways to take a picture as there are photographers, and every approach is as individual as the person behind the camera. Still, there is no substitute for understanding the fundamentals. Here are some ideas to think about and inspire you, whether you are a beginner or a seasoned landscape photographer.
Before you click the shutter
Study the masters.
Study the great painters. Study modern painters. Study the work of other photographers. I’m talking inspiration, not plagiarism. When you are first learning, it’s entirely reasonable to try to duplicate a composition of a scene from a piece of work that has inspired you. This is how many artists learn in the beginning: from copying. But that will only get you so far, and your work won’t improve until you push yourself to find your vision and express original ideas. Studying the work of the masters can inspire you to find your vision.
In the field
Take a visual inventory.
When you approach a scene, take note of what is catching your eye? What are the most important elements in the scene? Are there reflections in water, a colorful sky, or movement in the landscape, such as water or wind, or is it a bright, sunny day? Is there an unusual tree, foliage, or flowers? Are there patterns or shapes? Make a mental list, and then prioritize that list. Decide what it is you see that might make a compelling photograph and story.
Visualize the end product.
Envision how you want your final image to look and feel, and then take the technical steps in the field to ensure you’ve captured the light necessary to make your final image. Is it a high contrast scene? Then make sure you’ve bracketed sufficiently so that you’ve captured the raw material you’ll need in the digital darkroom. Are there distracting objects in your frame? Reposition yourself or try different focal lengths to ensure your subject is the focus of your composition. No amount of post-processing can fix a bad photo, so do the work in the field to ensure you have suitable material to work with later.
Compose.
Great landscape photographs start with great compositions. As you look at a scene, think about how you will compose the elements that you’ve identified as the key parts of your visualization. Keep in mind how you can use compositional rules to tell the story that you want to communicate, but don’t be afraid to break all the rules either!
- Rule of Thirds — Divide your frame into a tic-tac-toe grid. Place points of interest on the main intersections and divide elements along the lines.
- Leading Lines: Use leading lines to direct the eye where you want it to go. Diagonal lines create dynamic movement. Horizontal lines create a sense of serenity. Vertical lines create a sense of power and authority.
- Framing — Use natural framing to create windows and sense of looking into a picture.
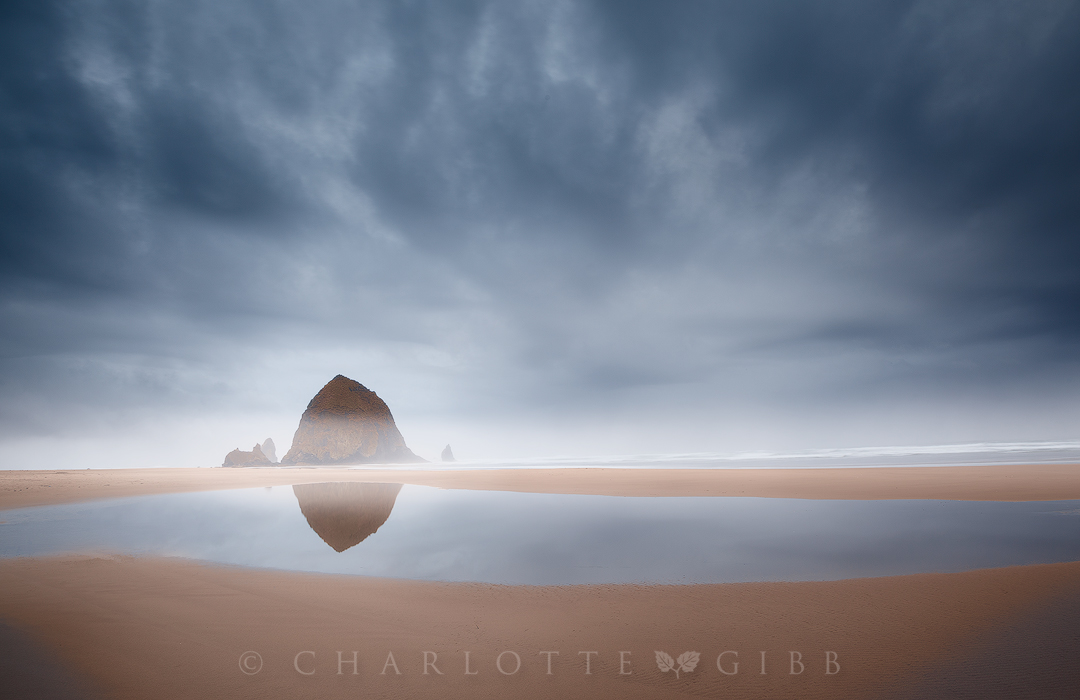
- Symmetry — Reflections in water or elements that mirror one another are compelling to the human eye.
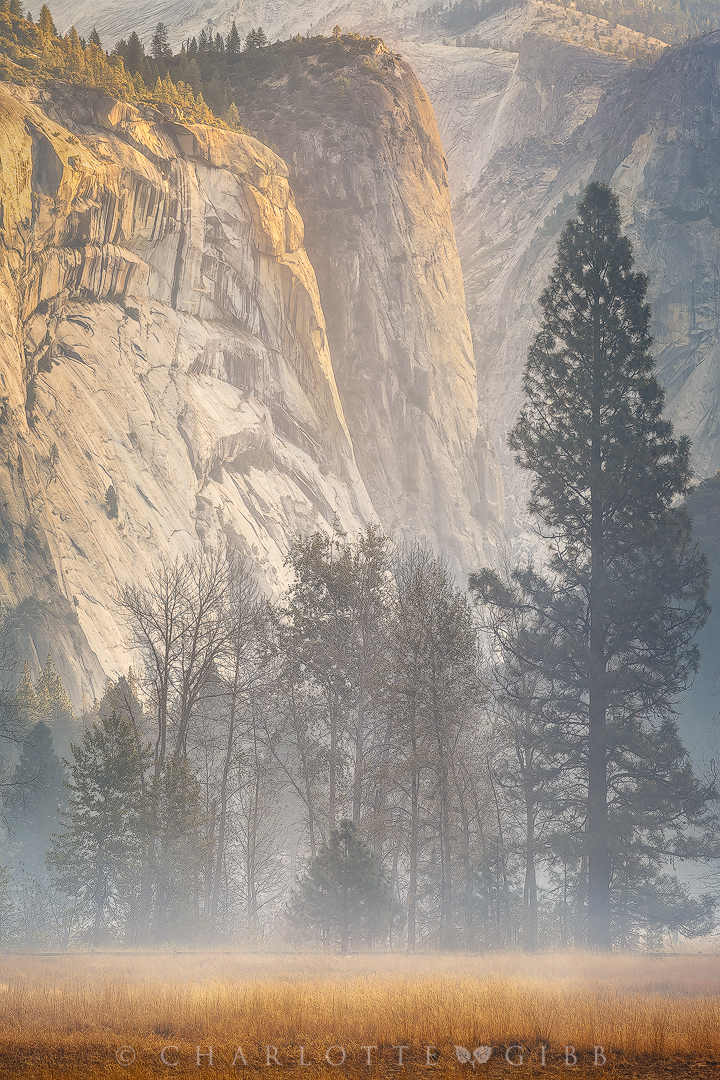
- Contrast — Find contrast between your subject and background so that the key element stands out.
- Fill the frame— Get close to your subject. Zoom with your feet. Eliminate unnecessary elements from the frame of your photograph.
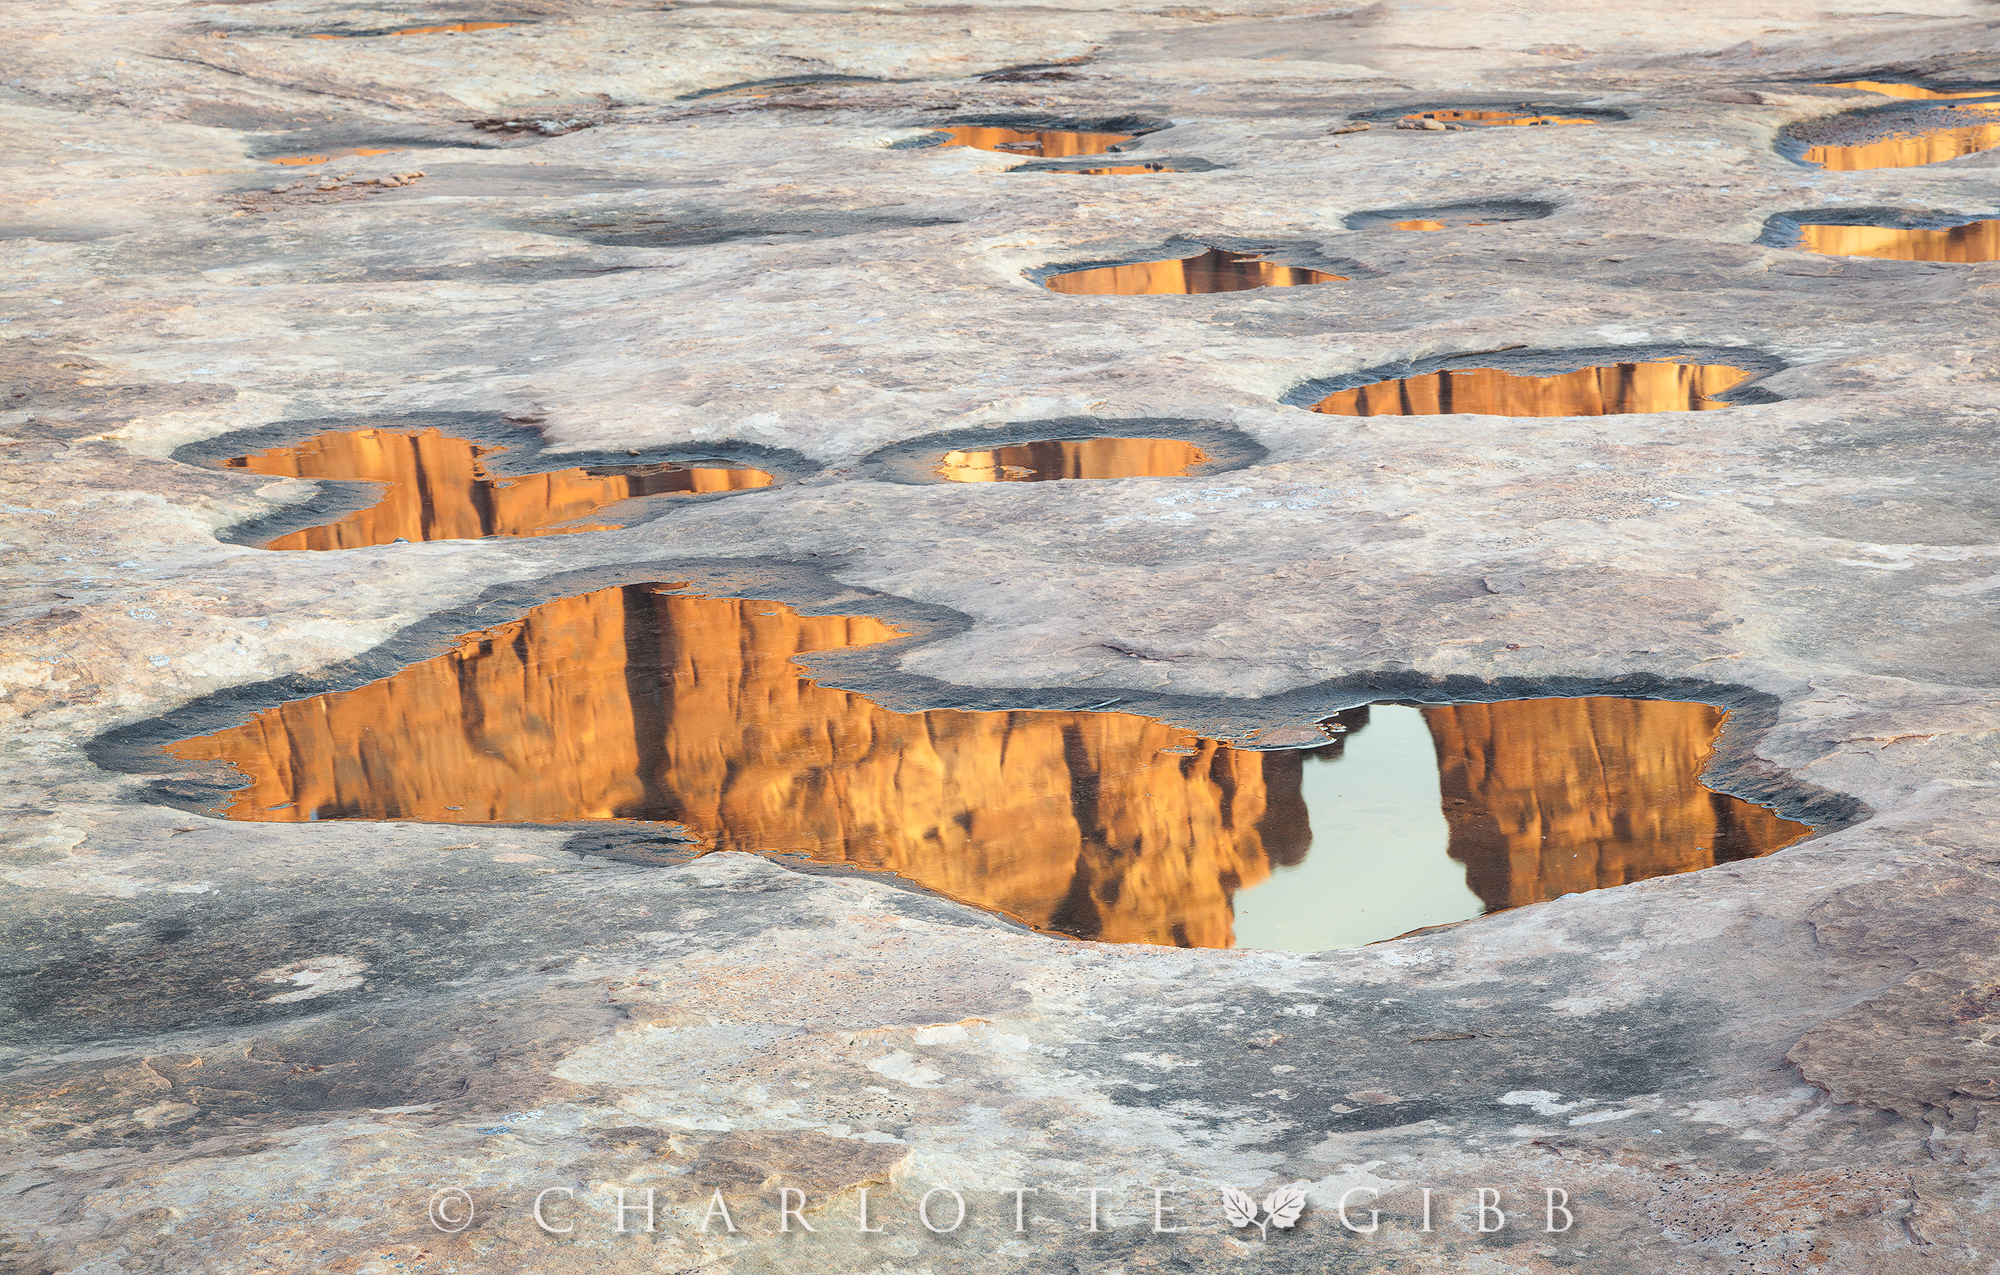
- Patterns and repetition — Find a repeating pattern, and then look for interesting subjects to interrupt that pattern.
In the Camera
Get the right exposure.
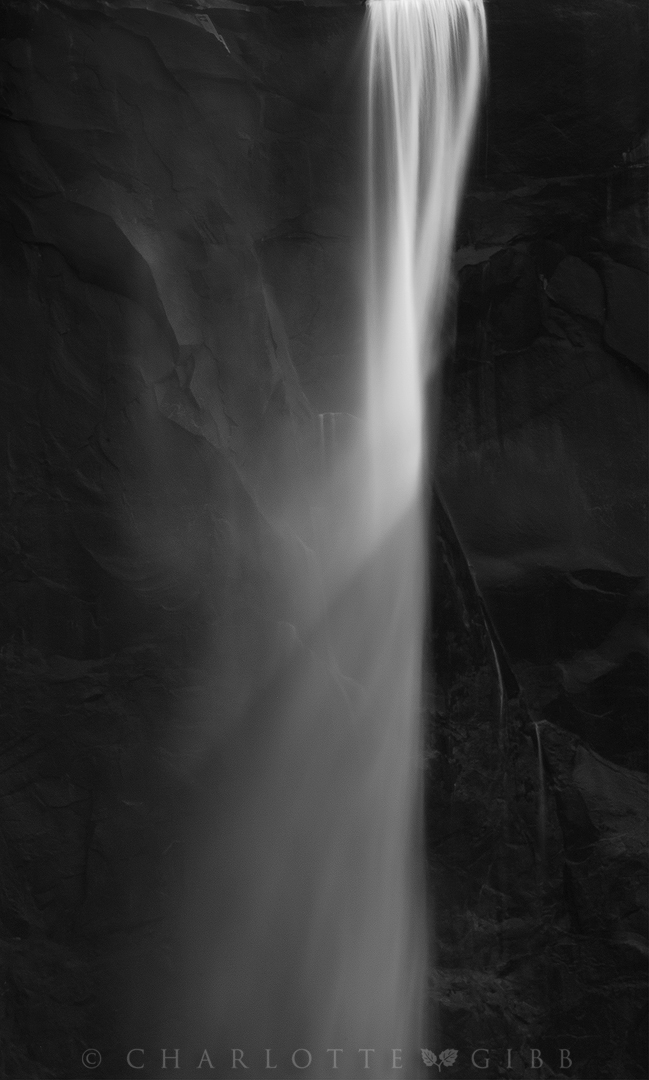
Exposure is controlled in your camera three ways: f/stop, shutter speed, and ISO. Shooting in manual mode will give you the most control of your exposure and final product. So, first, decide which exposure setting is the most critical to achieving your vision — shutter speed, f/stop or ISO. For example, if you are photographing moving water and you want to slow or blur the motion of the water, shutter speed is going to be the most important part of the exposure trio that you’ll want to determine first. Say you decide you want the shutter speed 1/6 second. Is the very scene bright? You’ll probably need to use a neutral density filter to compensate for the slow shutter speed, lending more control over f/stop and ISO. Next, decide how much depth of field you want and then set your f/stop accordingly. Now look at your exposure meter and adjust the ISO until you have balanced the exposure without clipping the highlights.

Use raw file format.
If you don’t already, please consider the benefits of using raw file format. Raw files contain much more information than JPEGs, and you will find that extra information invaluable during your post-processing sessions.
Use a tripod.
In low light situations or situations where you want to use a long exposure, you will be using a slow shutter speed, which will risk camera shake. Also, using a tripod allows precise control of the composition.
Use live view and enable mirror lockup.
Vibrations from the mirror in your DSLR camera moving up and down during long exposures can create slightly blurred images. Enable the Mirror Lock-up setting on your DSLR to ensure your images will be tack-sharp. Also, by using live-view, you will be able to control the edges of the frame more accurately than through the viewfinder.
Post-processing
Streamline your workflow.
Create a Lightroom develop preset to import all your images with that preset. Raw images imported from my camera require identical minor adjustments to contrast, saturation, clarity, highlights, and shadows. I’ve made a custom develop preset that I apply to my images upon import. It’s a huge timesaver and helps speed up the editing process because all of my photos are pre-edited to my taste.
Edit, edit, edit. Cut, cut, cut.
Don’t spend time processing every exposure. Pick only the ones that were successful exposures and compositions. Develop those images that are your very best. Don’t try to do all your processing in one sitting. Step away from the screen for a while to rest your eyes. When you come back, you often see subtle issues that you may have missed previously.


8 Comments
Rigo
extraordinary very didactic explanation, thanks for sharing
charlottegibb
Thanks, Rigo. I hope you found some of it useful!
Bonnie Lavina
Fantastic! Thank you!
Dante Dancel
Thanks for sharing Ms. Gibb, I’ve learned a lot and I printed it and it will be in my gear bag. Excellent advise.
Rigo
extraordinary very didactic explanation, thanks for sharing
charlottegibb
Thanks, Rigo. I hope you found some of it useful!
Dante Dancel
Thanks for sharing Ms. Gibb, I’ve learned a lot and I printed it and it will be in my gear bag. Excellent advise.
Bonnie Lavina
Fantastic! Thank you!