What’s the most important piece of gear in your camera bag?
During a Colorado landscape photography workshop last Fall, a student asked for help on her composition. Approaching her, I noticed how she had setup her tripod. I cringed. Her very nice camera and lens were perched atop an unleveled, too-small tripod, center post fully extended, with two of its legs on the downhill side. This top-heavy system could go over with the slightest bump or gust of wind. The lesson on composition was put on hold and we did a little Tripod-Set-Up-Lesson right there on the spot.
If you are practicing landscape photography, then chances are you were advised to go out and purchase a tripod. However, learning how to choose and properly setup a tripod is a skill which is often overlooked.
Your tripod is arguably the most important piece of camera gear you’ll ever purchase. After all, the tripod is responsible for supporting your system’s most expensive part — your camera and lenses. And, since any system is only as strong as its weakest link, it is well worth investing in a decent tripod and head. Take it from someone whose camera and lens ended up hurdling down a rocky embankment some years ago because of an ill-positioned, too-small tripod.
Here’s a rundown on tripod basics.
Why use a tripod?
There are several, critical reasons to use a tripod, especially in landscape and nature photography. A tripod allows you to:
- Use much slower shutter speeds, keeping ISO as low as possible, while increasing depth of field.
- Maintain very precise composition control.
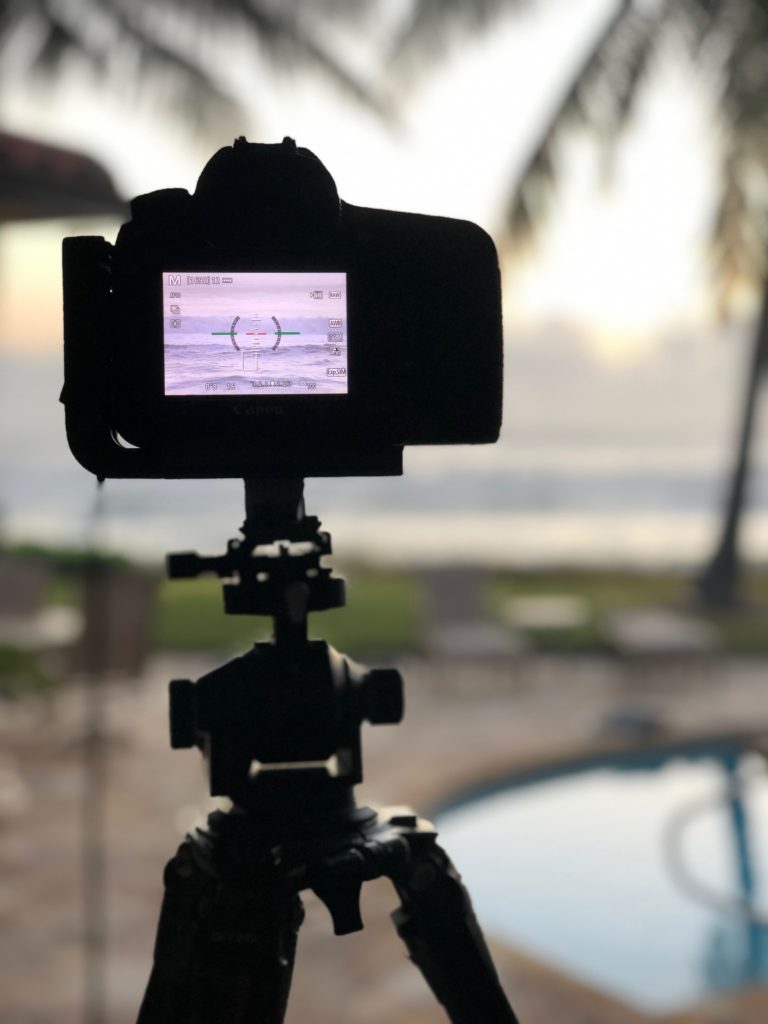
- Photograph night-time subjects, such as the Milky Way and other night sky photographs, which require long exposures.
- Create HDR and panoramic sequences that require perfect alignment of multiple exposures.
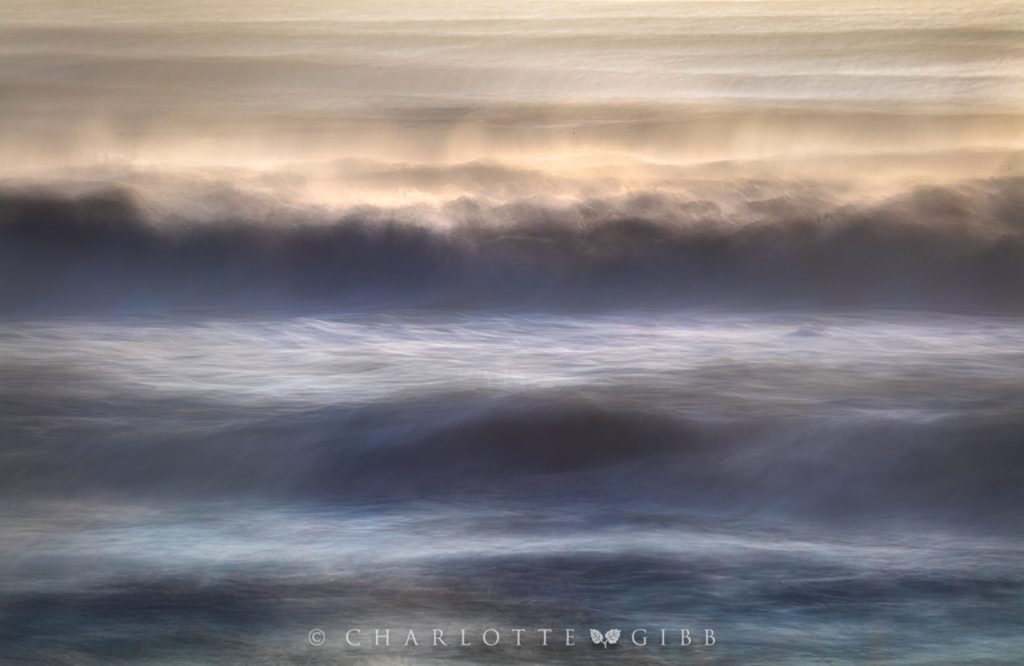
- Create special effects, such as luscious, blurred waterfalls and river rapids.
- Photograph in low light situations.

The tripod system
A tripod system is made up of the tripod legs, center post, feet, and head. Some inexpensive tripods are equipped with an integrated, non-replaceable head, but I recommend purchasing the head separately from the tripod legs. I also strongly recommend against purchasing a tripod with a center post, which I will explain later. Most tripods come standard with rubber feet, which are fine for most outdoor surfaces. However, you can also equip a tripod with custom feet, such as spikes for icy or slippery surfaces. There are even tiny snowshoes available that you can attach to your tripod feet in deep snow conditions.
Tripod Heads
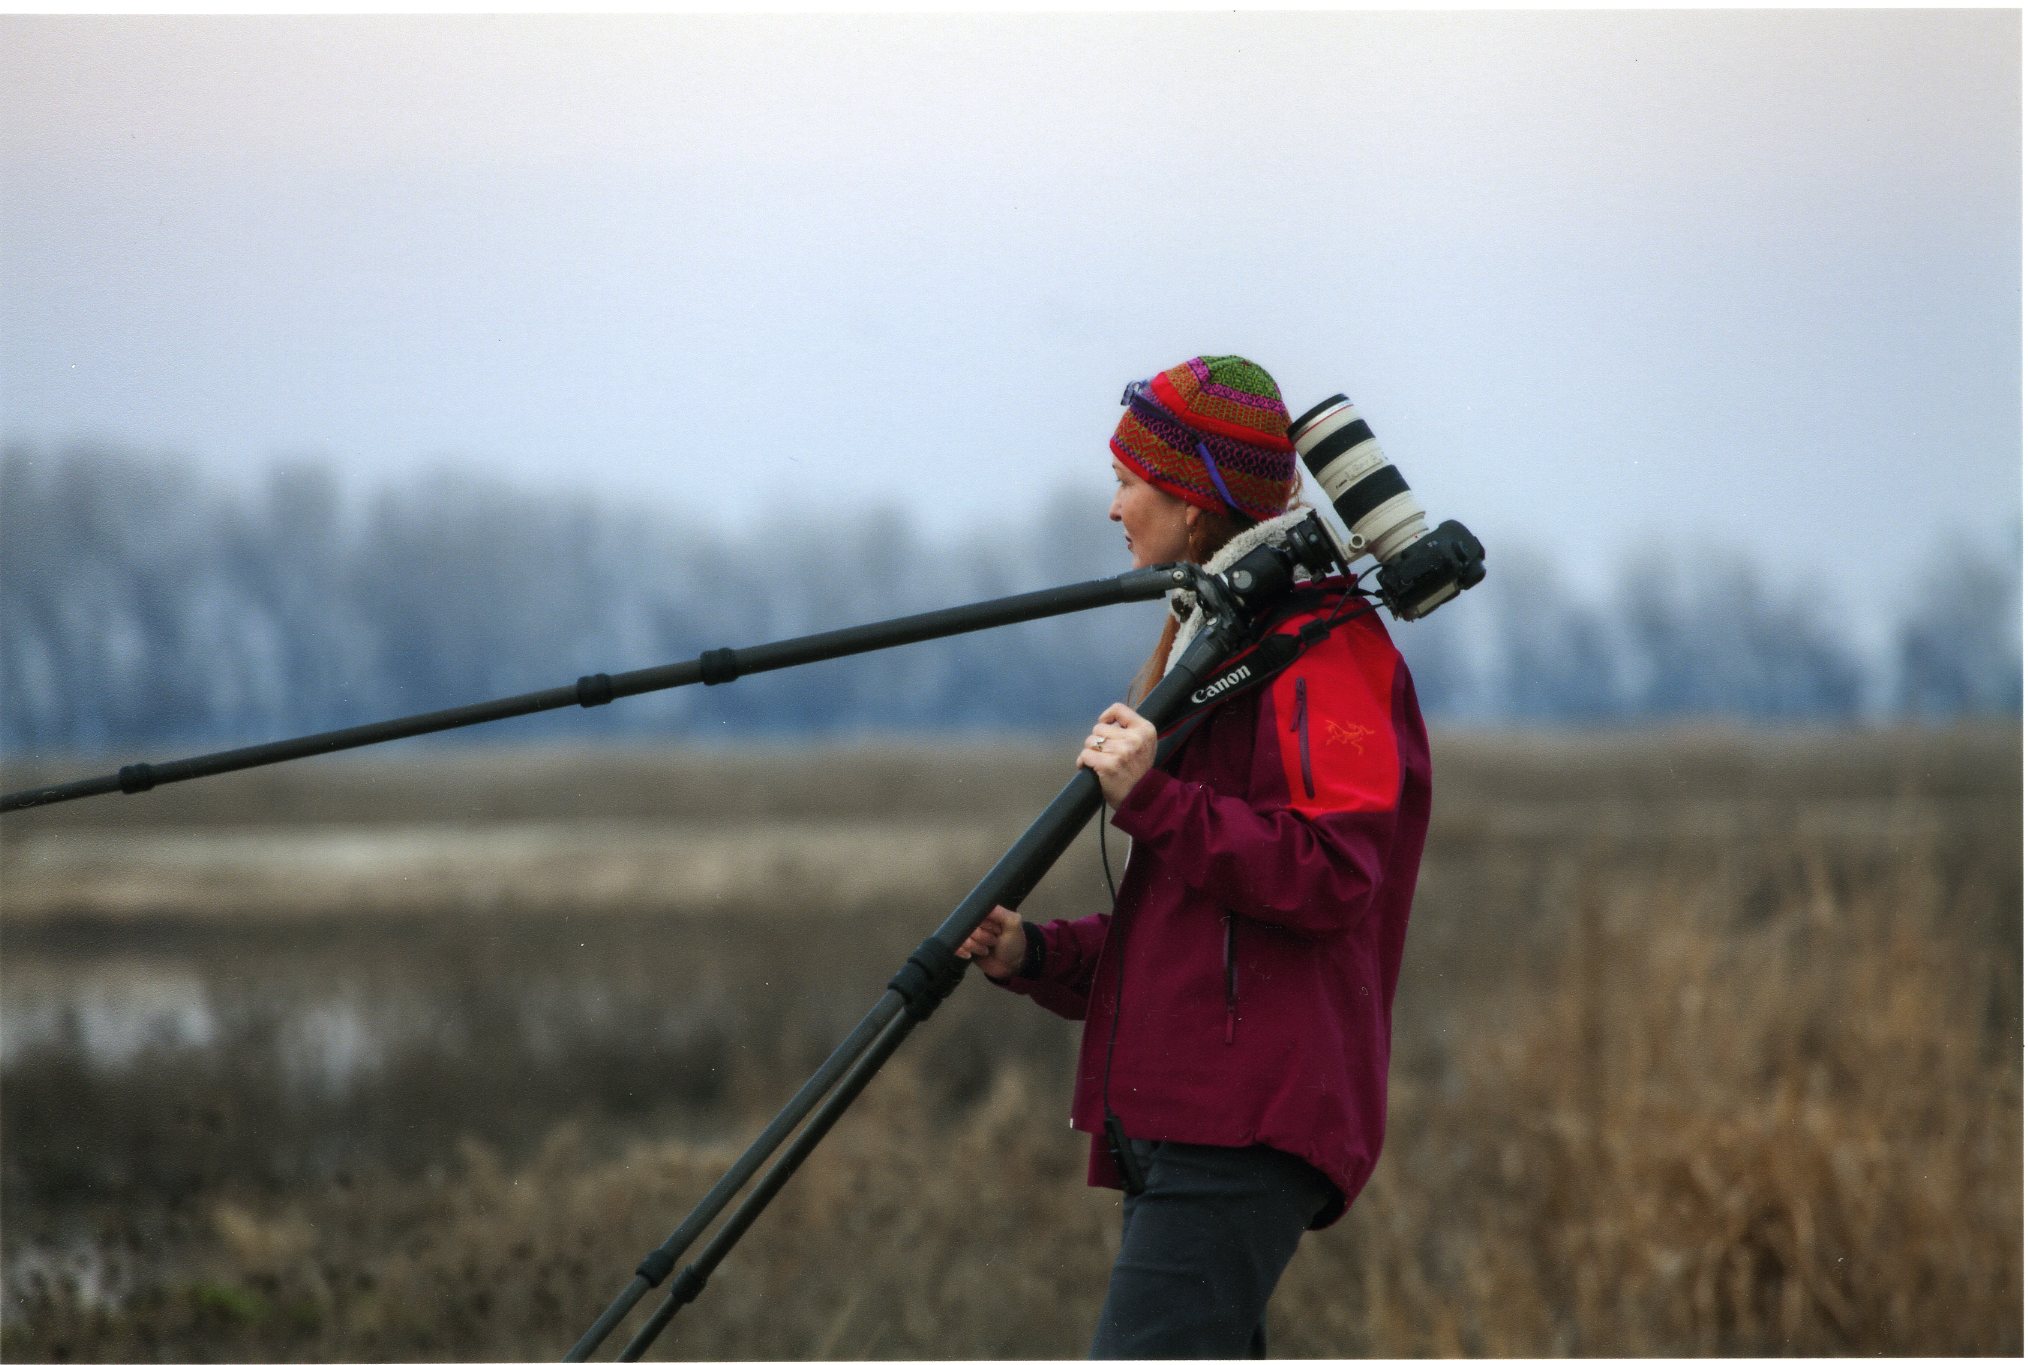
There are several tripod head types from which to choose. The pan-tilt head is useful for creating smooth video clips or motion blurs. A ball-head type is most commonly used in landscape photography. It allows for easy maneuverability with a ball that can be tightened securely in place. Geared heads are a bit more cumbersome to use than a ball head, but they allow for very precise composition control. Gimbal heads are great for balancing heavy lenses and allow for quick and fluid movement, such as photographing quick-moving subjects, such as wildlife and birds.
Quick release systems
All modern cameras have a threaded hole in their base that allows the camera to be screwed into place on a tripod’s built-in head. This is a cumbersome way to attach a camera or lens to a tripod because the camera has to be screwed into place. So, manufacturers have come up with a much better solution to allow for easy camera mounting and un-mounting. They have designed sturdy metal plates that can be attached/ to the base of the camera and longer lenses. These plates can then be easily mounted to a quick release tripod head. Several manufacturers make these durable plates, but the industry standard is the Arca-Swiss Quick Release System. They are not inexpensive, and you will need a separate plate for each camera and long lens, but it will make your life much easier in the field.
How to choose?
Purchasing a tripod can be confusing and overwhelming. The market offers very inexpensive options that cost under $200, up to systems that cost thousands. What works for one photographer might not work for you. Let your own photography style guide your choice.
- Consider how much weight you are willing to carry. If the tripod is too heavy, you might end up leaving it at home, which defeats the purpose of owning a tripod.
- Carbon fiber, while expensive, is lighter than aluminum systems.
- Aside from your own physical limits, make sure that the head and the tripod are each rated to handle the total camera system’s maximum weight.
- When extended, the system with the camera mounted should be at eye level without using a center post. Remember to consider the total height you’d need if you were setting up on a hill or embankment. You’ll need extra leg length to extend one leg down the hill.
- I do not recommend a tripod with a center post. The center post can introduce vibration and make the system top-heavy if extended.
If you’re curious about the system I use, here is a link to my complete gear list. https://www.charlottegibb.com/gear
How to set up your tripod and camera
Disaster can be averted with proper tripod setup and placement. Establish proper workflow in the field. Before mounting the camera to the tripod, ensure it is set up correctly.
- The single leg faces away from you. You stand between the two remaining legs.
- The tripod’s longest leg should always be on the downhill side. The shorter two legs should be uphill.
- Level the tripod before you attach the camera and lens. Most good-quality tripods are equipped with a leveler.
- Make sure each leg section is tightened and secure.
- If it is windy, keep the tripod and camera low to the ground to reduce vibration.
- Once the tripod is level and secure, then attach your camera.
- Ensure the camera is balanced on the tripod. If your camera or lens has an elongated plate attached, make sure the camera or lens is attached at its center of gravity.
- Now level the camera. Leveling the tripod before you mount the camera is critical. Once the tripod is perfectly level, and the camera is secured and also leveled, you can swivel the camera on the tripod head, such as for panoramic images. The camera will remain perfectly level throughout the range of the swivel.
While smaller tripods are useful, especially for traveling or hiking long distances, they inherently less stable. Use them only with lighter-weight cameras and lenses. When purchasing a tripod, take into consideration your height, the total camera system’s weight, and the type of environments in which you’ll be working. The entire system needn’t be expensive, but it can be very costly if the system fails and your camera is damaged or destroyed.
Learning the hard way
Here’s what I figured out through the Trial and Error process.
Tripod #1
The tripod that was the cause of the ruin of my camera and lens was a nice, light-weight Gitzo. Understand, it was no fault of the tripod that destroyed my gear, but user error in judgement and setup. The tripod had three sections on each leg and a center post. With the legs and center post fully extended, it barely brought the camera to my eye level. While this setup provided an easy-to-carry system, it wasn’t especially stable with a heavy camera and long lens mounted on the skinny, extended post. My equipment destroyed, it was clear a larger tripod was required to fit both my 5’10” tall frame and my heavy camera system.
Tripod #2
The next tripod I purchased was the Gitzo GT2450 L LVL. It provided the extra length required. Mostly. With the legs fully extended, this tripod brought the camera to my eye level without the need to extend the center post. However, it didn’t provide enough height when setting up on an embankment. With the front leg extended down a hill, and the back two legs shortened to bring the system level, the camera was well below my eye level. Extending the center post provided the extra height required to elevate the camera so that I could see the view finder and LED screen, but this set up created a less-than-stable system, especially when mounting my favorite Canon 70-200mm ƒ2.8 lens. Although I didn’t destroy any camera gear with this setup, the system was still wobbly.
Tripod #3
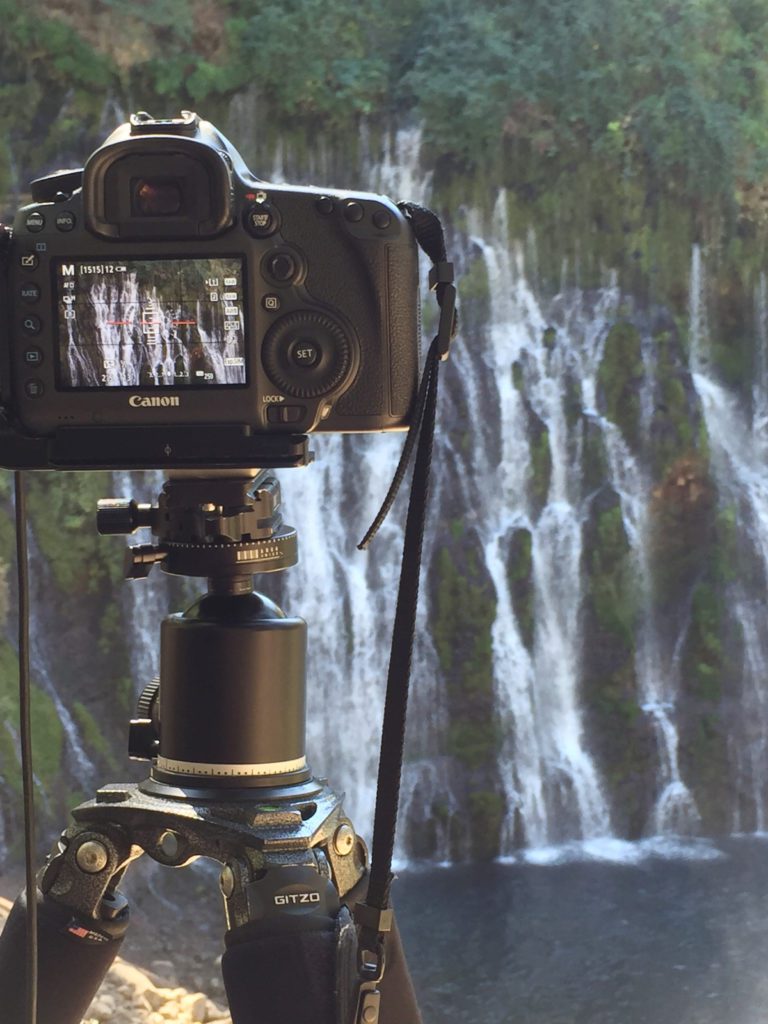
The tripod which now travels with me is quite heavy — 4.3 lbs. without the head — but it’s very stable. The Gitzo GT3542XLS does not have a center post. (Discontinued. Here’s the replacement.) Each of its three legs has four sections, expanding it to a whopping 78.9 inches tall. That extra height comes in handy when setting up on a steep embankment or river’s edge. I’ve also set it up to its full height to position the camera above obstacles in the frame, such as shrubbery. Also, this tripod allows the legs to be splayed completely horizontal, positioning the camera very close to the ground when needed.
Has your camera ever met with an unfortunate tripod accident? Misery loves company. Tell me about it!


One Comment
Janine King
Yes i was photographing in about a foot of water. Unfortunately,. I poorly positioned my tripod. I turned away for a moment, turned back only to see my camera Nikon D750 plopping, lens down, into the muck. arghhhh.