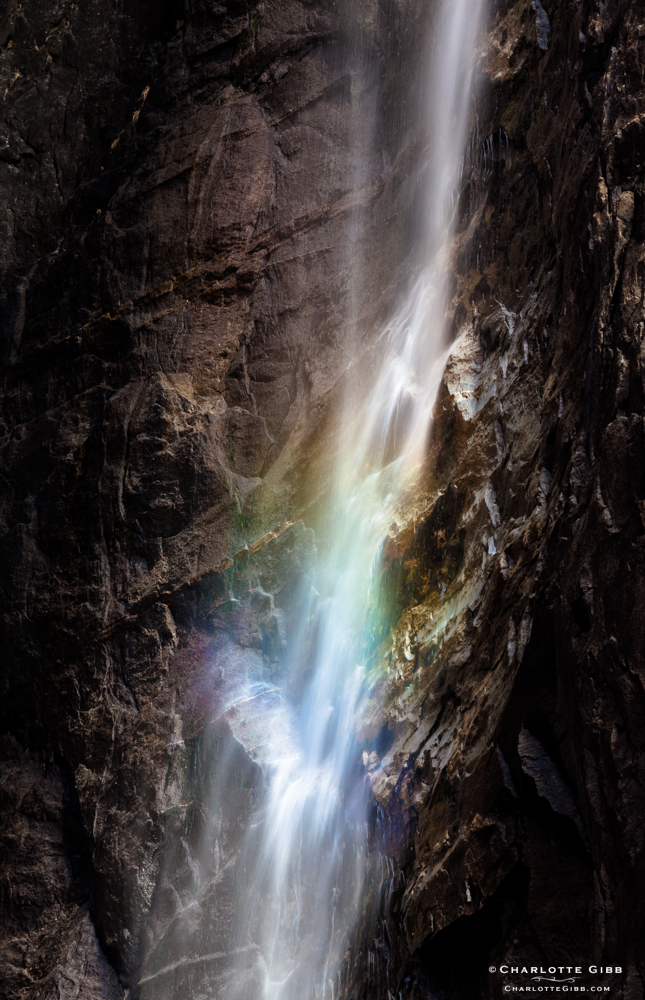
Winter Compositions, Part 1 — Photographing Rainbows
California is facing the driest year on record, which was evident during my recent visit to Yosemite. Its grand waterfalls are down to a trickle, and the mighty Merced River is low enough to wade across. Nonetheless, it doesn’t take much water to make a rainbow, and yesterday, when I photographed Lower Yosemite Falls, there was just enough water mixed with a bit of morning sun to produce a tiny spectrum of color. This little wisp of a rainbow was so faint and so far away that I nearly missed it.
I’ve received a few questions from readers about how to photograph rainbows, and while I am certainly not an expert on the matter, I can offer a few tips. It’s not as hard as you think, and quite rewarding when you get it right.
1. Keep your eyes open. Rainbows occur whenever sunlight and an abundance of fine water droplets are present, either from a rainstorm or a waterfall. Although witnessing a rainbow after a big storm calls for a bit of luck, finding rainbows in waterfalls is actually quite predictable if you pay attention to the optimal position of the sun (see tip #2) and plan accordingly.
2. Make sure the sun is at your back when you are looking toward the spray. Light from the sun (behind you) hits the droplets of water and refracts them back to your eye.
3. Try using a polarizing filter. I know this advice sounds counter-intuitive, because a polarizing filter is normally used to cancel out polarized light, which would cause the rainbow to disappear. But if you rotate the polarizing filter to its maximum strength it can actually enhance the effect of the rainbow.
4. Use a tri-pod. Often times, rainbows are present in dark lighting situations, and you will have to use slower shutter speeds in order to create the proper exposure. This is especially important when photographing waterfalls because you may want to blur the action of the water, which would be impossible with a hand-held camera.